Support Center
Clipping Games
Table of Contents
Stream Cortex’s powerful video editor allows you to upload your games, clip highlights, annotate feedback, and feature selected videos on your public profile. You can use one of our many default categories or create your own — with custom clip durations and buffer times — so that you can zoom in on exactly what you need.
Getting Started
To upload your first game video, click “Show Games” in the top bar of the video player and select the “Upload Game” button. Here, you can fill in all of the game details and select a video file from your computer.
Once you hit “Upload,” the game begins uploading to our Gamespark service, which compresses the video in an efficient, lossless format. Although it may take a while, be sure to leave your browser and the page open until the upload is complete.
Note: We recommend using the latest version of Google Chrome or Mozilla Firefox when uploading videos.
When games are uploaded to your profile, you can select the one you want to watch using the game sidebar. Just click the thumbnail and it will bring the game video into the viewer. To see games from prior seasons, use the season dropdown in the top right corner of the viewer and select the season.
You can hide the game sidebar by selecting “Hide Games.” When the sidebar tucks away, the video player will take up a larger portion of the screen, letting you see the plays even closer.
Back to top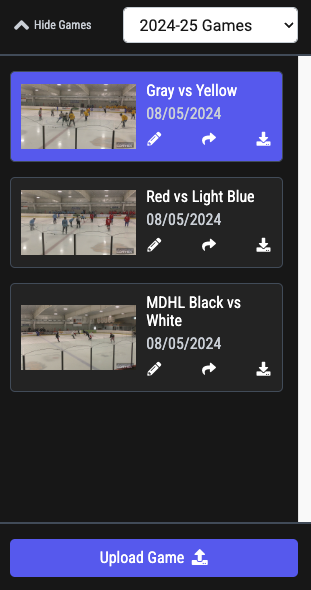
Creating and Editing Clip Categories
There are numerous categories available by default:
- DZ-Goals Against
- OZ-Goals For
- DZ-Defensive Zone
- NZ-Neutral Zone
- OZ-Offensive Zone
- Player Shift
- Showcase Clip
Each category comes with its own standard duration (length of the clip after you create it) and buffer time (includes a few seconds before the point where you create the clip). The times for each clip can be manually adjusted once it’s created — see “Editing Clips” below.
Using the “Edit Categories” menu in the viewer’s top bar, you can create your own custom categories with their own timing. Custom categories also include their own settings such as Evaluation, which allow you to score the clips based on criteria that you set.
Once you create a category, it can be used when creating new clips and in the filters on the clip selection table below.
Back to top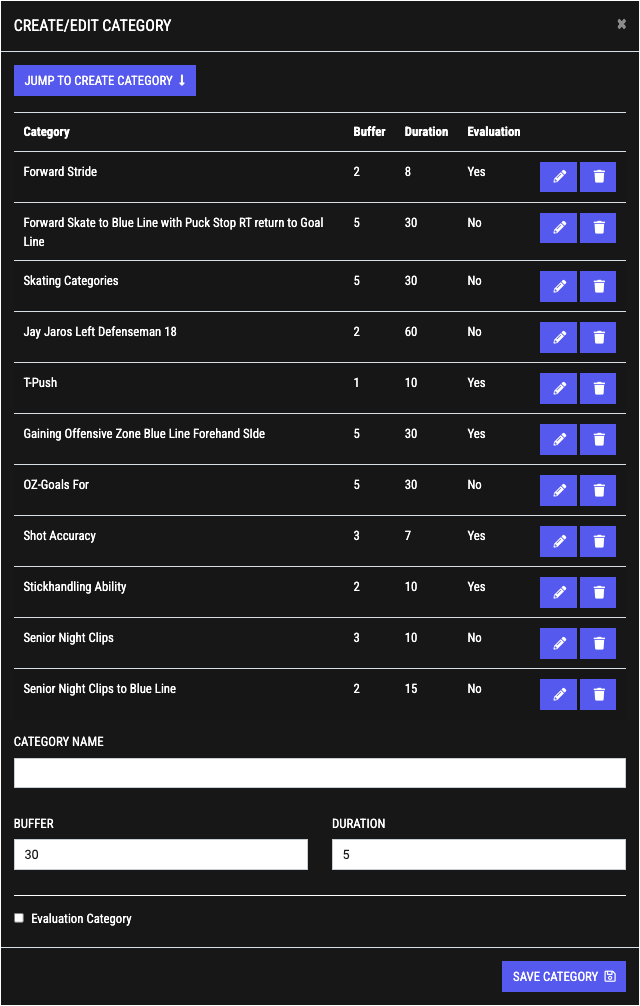
Creating Clips
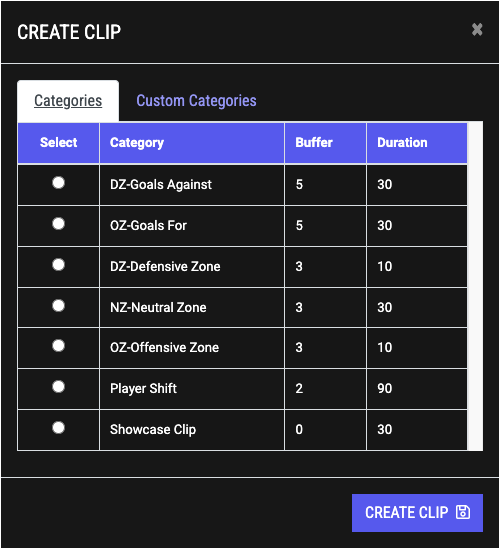
Once you've found the starting point of a clip you'd like to create, hit the spacebar to pause the game video and open the clip creation menu. From here, select either the default or custom category for the clip and hit the "Create Clip" button at the bottom. The clip will immediately save and show up in the clip table below the viewer.
Terms:
Buffer - the time before the playhead (in seconds) which will be included in the overall clip
Duration - the time after the playhead (in seconds) which will be included in the overall clip
Clip Actions
The clip table below the editor allows for one-off or batch editing, selecting favorites, clip deletion, renaming, and more. Actions for individual clips are on the right side of the table for each entry.

Action Buttons:
The "Show All Clips" button to the top right of the table toggles between all of the clips you've created within a season and the clips that exist for the specific game you're currently viewing.
To work with multiple clips, select the checkbox for each one and an action menu will appear at the top. You can select all clips by using the checkbox in the header row.
 Back to top
Editing Clips
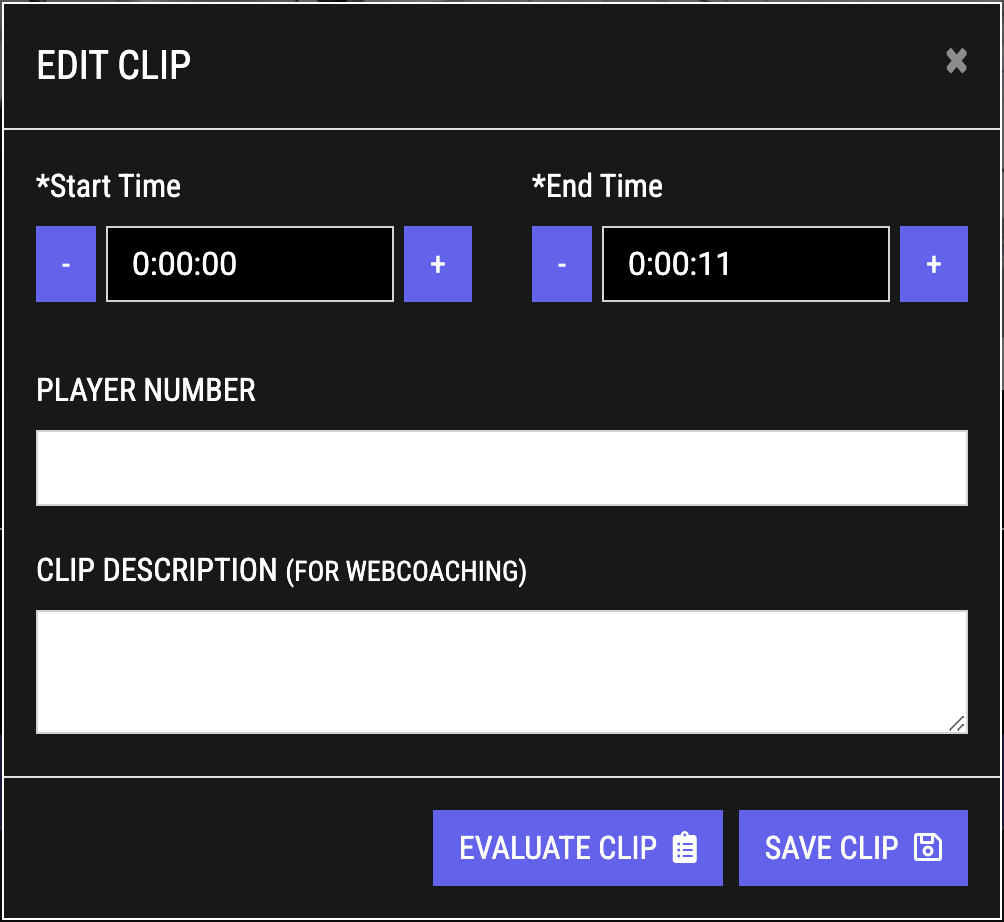
Select the "Edit clip" icon to open the editor pop-up. In this menu, you'll be able to adjust the start and stop times of the clip, add the numbers of specific players, and write a description for the clip.
The player numbers will allow you to identify who was involved in the specific clip. This is visible in the clip table below the viewer.
The description will also appear in the clip table and will overlay the top of the video as an annotation when the clip is played. Descriptions will also remain with the video when you share them to players.
 Back to top
Sharing Clips
Once you've clipped a game, you can share your clips and annotations directly with your players. Use the checkboxes to select the clips you'd like to share, then click "Share to Players" in the bulk actions bar. This will open a menu where you can select individual players on your roster who will receive the clip.
Back to topClip Evaluation
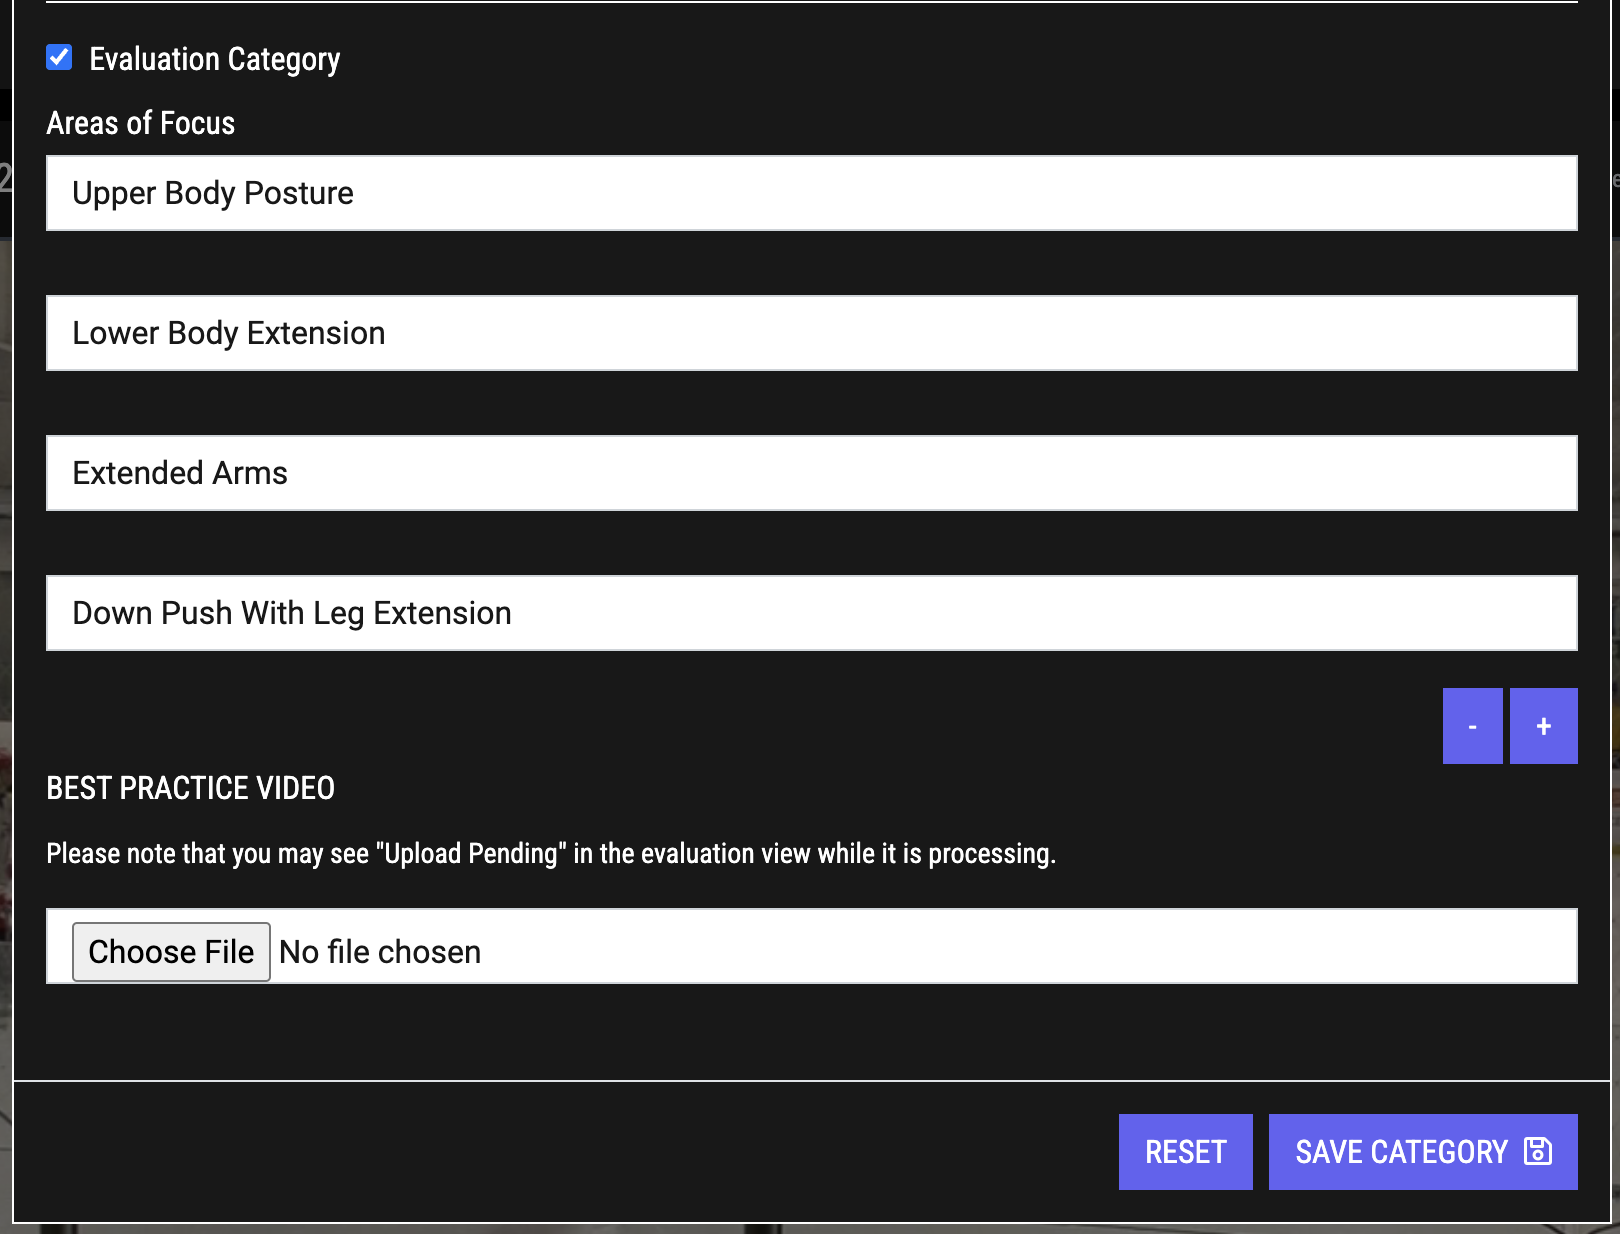
Note: This feature is available for coaches/organizations only.
You can designate certain custom clip categories for evaluation when you create or edit them.
In the "Edit Categories" menu, select or create a category and then check "Evaluation Category." Here, you can add individual "Areas of Focus," each of which will be scoreable. You can also upload a "Best Practice" clip that will show other evaluators what the ideal technique looks like for the clip category.
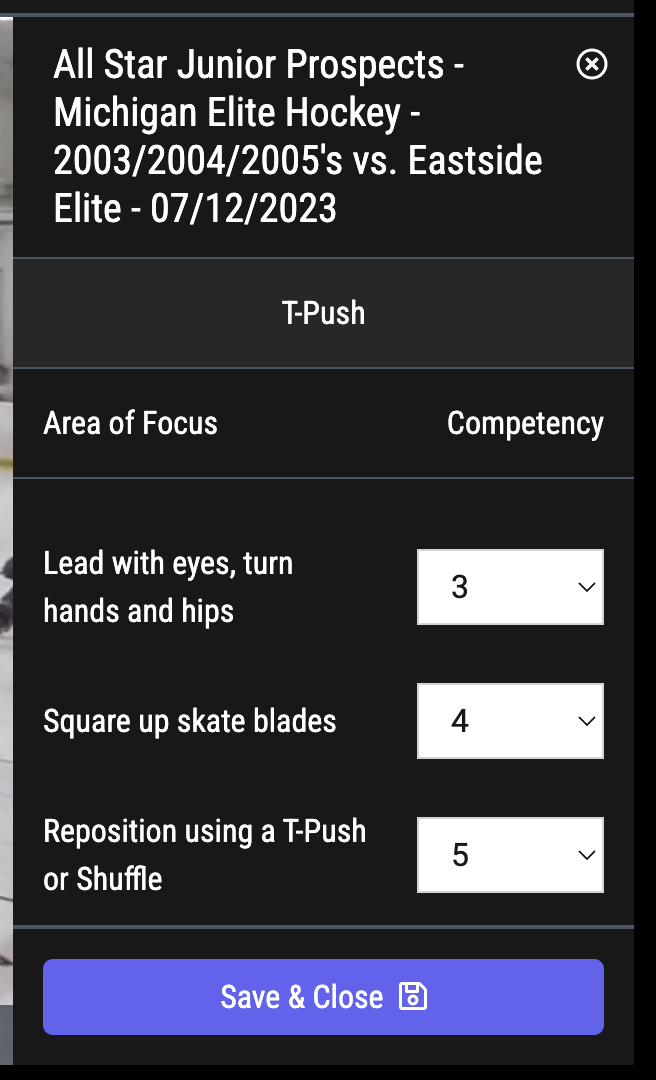
To evaluate, first create a clip using the scoreable category. Then edit the clip using the edit button in the clip table and select "Evaluate Clip" at the bottom. This will bring up the specific clip in the viewer. When you open the game sidebar using "Show Games," the game selector will be replaced with an evaluation menu. Here, you can score each Area of Focus while watching the clip as well as view the best practice video.
Remember to click "Save & Close" at the bottom when you're done, or your progress may be lost.
Back to top